| OSCPMWin: |
| MV.net: | inicio / home | documentos / documents | software / software | personal / personal | blog |
| Software: | inicio / home | CMS4P | IEEditor | mvDocRun | OSCPMWin | OSCPM-Aspel | phpWPoison | phpSETIMon | SiTeFiLo | SleepShell |
0) osCommerce working.
You must have osCommerce 2.2 Milestone 2 installed, configured and working.
1) Get the files.
Get the application from
http://www.mariovaldez.net/software/oscpmwin/
(get the executable installer).
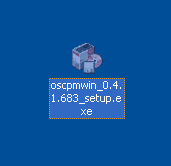
2) Run the installer.
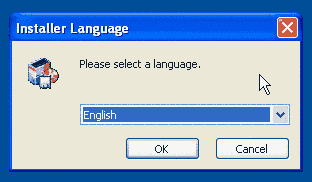
Execute the installer file. You will be prompted about what language to use during installation
(only English and Spanish available).
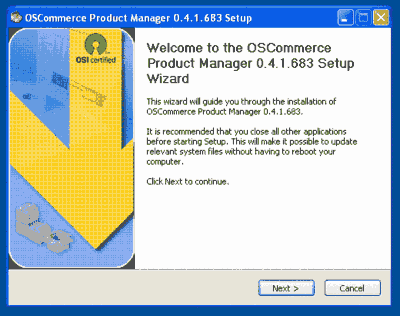
A welcome screen will appear. Check the version of OSCPMWin. Click Next.
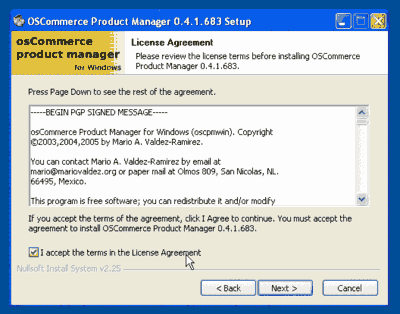
3) Review the license.
Read the license of OSCPMWin. It is GPL.
Basically you are free to use, copy, distribute and modify the software.
If you agree, check the box I accept the License Agreement and click Next.
4) Choose the components.
You can choose what components to install. It is recommended that you install all components.
Click Next.
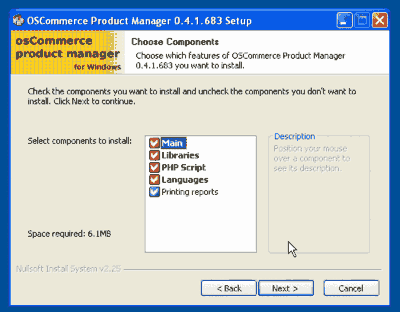
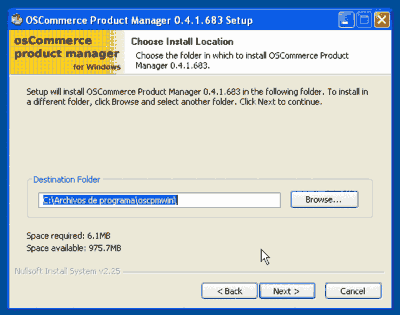
5) Select installation folder.
You will be offered a default directory to install, but you can change it to install anywhere you want.
Click Next.
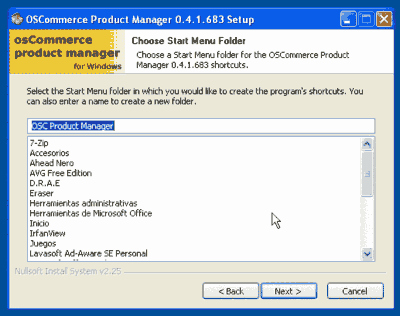
6) Choose the Windows Start-group to install.
You will be offered to create a default Start Menu group, but you can change it to create a different icon group.
Click Next.
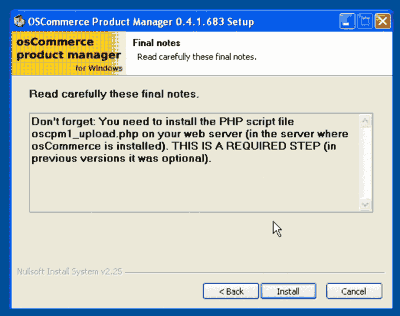
7) Review the final notes.
Some important notes will be displayed, please take note of them.
Click Install.
The installer will unpack and copy all the files of the application.
When it is finished, click Next.
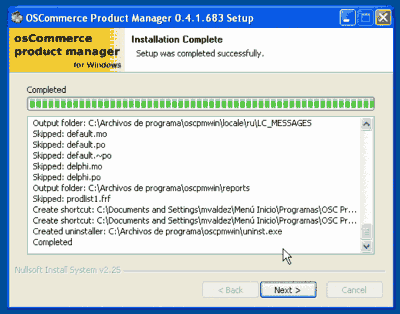
8) Finish the installer.
A termination message will be shown.
Click Finish.
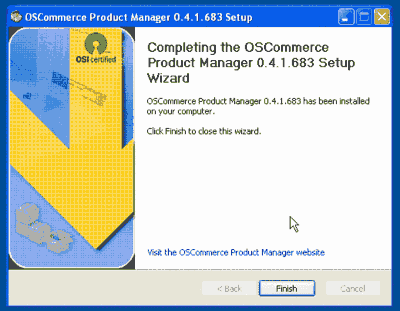
9) You are almost done.
The application is now installed in the client computer, but now
you need to install the PHP script in the web server.
Read the section titled Server-side installation in this page.
(In previous versions the server-side script was optional, now is required).
0) osCommerce working.
You must have osCommerce 2.2 Milestone 2 installed, configured and working.
1) Get the files.
Get the application from
http://www.mariovaldez.net/software/oscpmwin/
(get the zip compressed package).
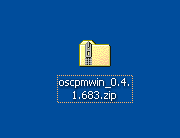
2) Unpack the files.
Open and extract the files from the zip package using a Zip decompressor to the desired directory.
We recommend 7-ZIP (free, open-source), but you can use
WinZip, WinRAR or any other ZIP software. Check that the directory structure is kept (there should be a
directory named oscpmwin with several directories inside (locale, modules,
reports, serverside).
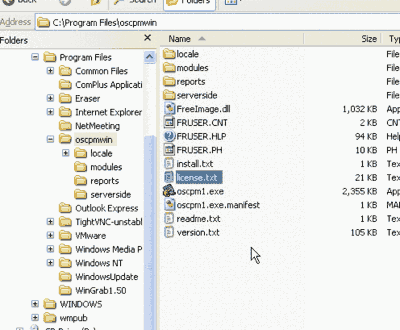
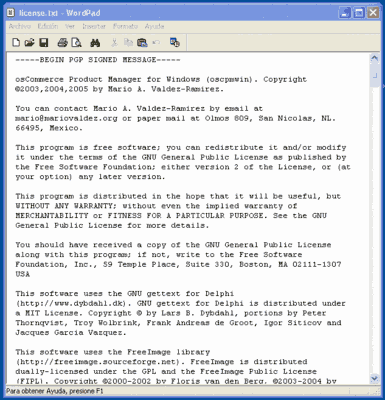
3) Review the license.
One of the files you unpacked is named license.txt. Open it with
a text editor (like Windows Notepad).
Basically you are free to use, copy, distribute and modify the software.
Please note that you should agree with this license before using the software.
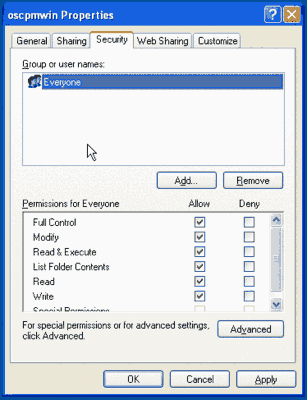
4) Check the permissions.
If you are installing in Windows NT, 2000 or XP (and using a NTFS disk), check the permissions of the directory
where you unpacked the files. All users who will use the application need writing permissions
to that directory. (In Windows XP Home there is not a Security tab to set the permissions. Just check that the directory is no marked as Read-only).
5) You are almost done.
The application is now installed in the client computer, but now
you need to install the PHP script in the web server.
Read the section titled Server-side installation in this page.
(In previous versions the server-side script was optional, now is required).
No matter if you installed the application using the executable installer or the compressed package, you still need to install a single server-side PHP script in your osCommerce store. (In previous versions the this script was optional, now is required).
0) Install OSCPMWin.
First install the OSCPMWin application.
1) Locate the serverside directory.
When you installed or unpacked the application, a directory named serverside was
created. Inside that directory there is a PHP file named oscpm1_upload.php.
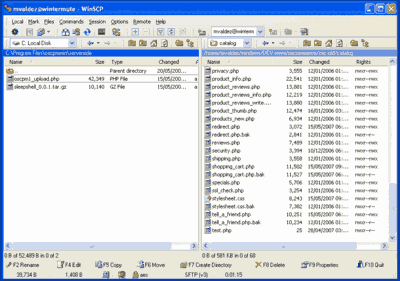
2) Upload the PHP script file.
Copy that script file to your web server, to the directory of your osCommerce store
(usually in the catalog directory). If your server is remote you usually do this
step using a FTP or SCP client. (We recommend
Filezilla
for FTP and
WinSCP
for SSH/SCP but you can use whatever program you already have).
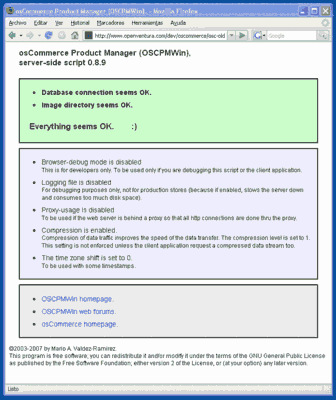
3) Test the PHP script.
Direct your web browser to the URL of the oscpm1_upload.php script.
The page should display a message like the following:
4) You are done.
Now start the OSCPMWin application and configure it.
Visit the page Configuration options for a
summary of the configuration options.
| MV.net: | inicio / home | documentos / documents | software / software | personal / personal | blog |
| búsqueda / search | estadísticas / statistics | privacidad / privacy | webapps | a / f | e / l |
| Copyright ©1994-2026 by Mario A. Valdez-Ramírez. |